This article describes the configuration of a business central on-premise installation in a way, that it will be accessible without a browser, using the business central app from the MS App Store.
The quick steps are:
- Make sure your installation is accessible using SSL
- Get an SSL Certificate (and now I don’t mean a self signed certificate)
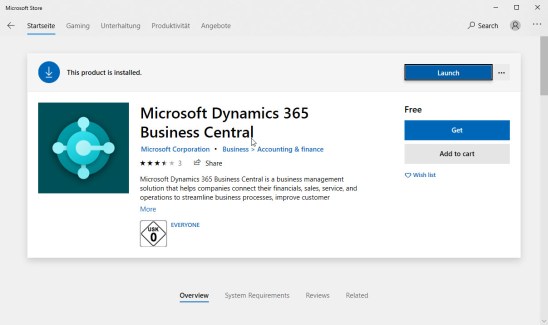
- Install the Business Central application
- Launch the app, enter the url of your instance and your credentials. Enjoy.
Sounds easy, and in fact, it really is that easy. Let me explain in a bit more detail how you can make your life even easier.
Step 1: I solved this installing BC kinda’ in the cloud. It’s an on-premise installation on a virtual machine that is, in fact, in the cloud. It works like a charm, the following steps you’ll still need to carry out if you want your installation to be “part of your domain”:
- Add a CNAME record to your domain’s DNS record, pointing to the Azure name of the machine.
- Check out letsencrypt, a project that helps certifying the world. You’ll also need an automated way of requesting a certificate and configuring your IIS. I picked for that https://certifytheweb.com/, this really did work almost immediately….
- … in order to make it work, you have to make sure that your firewall allows connections from the outside world to your IIS
- Once finished installing, check out the bindings in the IIS manager. I’ve found that although I requested the SSL Certificate for the website of the Business Central installation, it still bound the certificate to the default website.
Step 2 – Installing the Business Central application and step 3 – entering your credentials should be straightforward.